How To Remove Old Car Decals
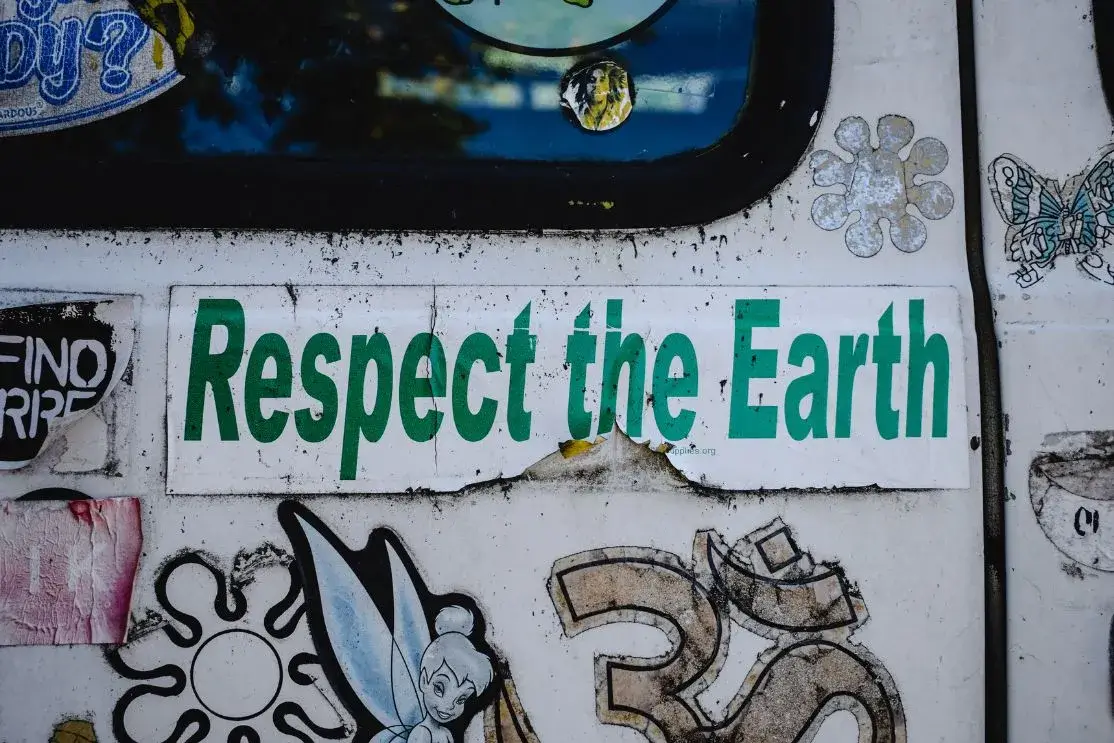
Have you ever purchased a used car and found it covered in old, faded decals that make it look more like a high school parking lot than a mature vehicle? Or you’re ready to update the look of your car by removing the decals of a past era.
Whatever the reason, removing old car decals can be a tedious and frustrating task. Still, it can be done efficiently and effectively with the right tools and techniques. In this article, we’ll share some tips and tricks for removing those stubborn decals, so your car can have a fresh look that reflects your style and personality.
In addition to outlining the necessary steps for removing old car decals, this article will also discuss some critical considerations to consider when undertaking such a project. With these guidelines, you should have no difficulty restoring your car to its original condition, or at least as close as possible.
Gather The Necessary Tools
The first step is to gather the necessary tools for the job. A heat gun, razor blade, plastic scraper, and soapy water are all essential items that should be acquired before removing any decal from your vehicle.
It is crucial to assess any damage caused by the decal before initiating the removal process. Suppose there has been significant wear and tear on the paintwork surrounding the decal. In that case, additional attention may be required during the preparation stages to achieve a satisfactory finish afterward.
Once these preparations have been addressed, work can commence on removing the decal itself. Utilizing high-quality equipment will ensure optimal results when removing old car decals. Heat must be applied carefully, as excessive heat could result in irreversible damage to both paintwork and glass surfaces.
Prepare The Car For Decal Removal
The initial step is to prepare the car for decal removal. This entails cleaning the car’s surface, ensuring no dirt or dust will interfere with the adhesive bond between the decal and paintwork. Cleaning also allows for an examination of any damage caused by UV rays due to prolonged exposure and an inspection for rust and corrosion in areas where dents are present on the bodywork.
After the car has been cleaned, it is crucial to safeguard its paintwork before removing the decal. It is vital to use durable materials when preparing for this task to maintain your car’s exterior throughout the process. Protective products such as waxes and polishes should be applied before starting the job, shielding your vehicle’s finish from potential scratches and additional damage during the decal removal.
Patience is key. Take your time preparing yourself and your vehicle correctly; if done properly, you will have a clean surface ready for decal removal without worrying about causing further damage.
Apply Heat To The Decal
Having prepared the car, it is time to warm up the decal. To do this effectively and safely, use a blow dryer set on low or medium heat, ensuring not to overheat any part of the vehicle’s surface. Direct the heat at one section of the decal for 30 seconds before moving onto an adjacent area. The combination of warmth and gentle pressure should cause the adhesive backing that secures the decal in place to loosen up enough to be removed without damaging your car’s paint.
Once heated sufficiently, moisten the decal with water as you continue using a scraper tool to remove residue from its edges. As you move around each edge of the decal, apply warm water until all residue has been scraped away. Exercise caution when doing this, as excessive force may cause damage to the bodywork underneath.
At this point, if there are still traces of adhesive left behind on your car’s surface, then a rubbing compound will help eliminate these unsightly marks – but remember not to make contact with any other painted surfaces while doing so! After completion, congratulate yourself for successfully removing old car decals!
Peel The Decal Away
Before attempting to remove a car decal, it is crucial to adequately prepare the surface to ensure the decal can be peeled away efficiently. It is best to start by cleaning the area around the decal with a soft cloth and warm, soapy water.
Once the surface is prepared, the decal can be removed by slowly and carefully peeling it away. If the decal does not come off in one piece, remove small pieces until the entire decal has been taken off.
Preparing The Surface
It is essential to have a clean surface for the decal removal process to be successful before attempting to peel the old car decal away, thoroughly clean and prepare the application area with suitable cleaning solutions. This can include using chemical solvents such as rubbing alcohol or mineral spirits, which can help dissolve the decal adhesive.
Depending on how long the decal has been applied, further preparation may be necessary before beginning the peeling process in cases where significant dirt buildup underneath an aged decal, light sanding may be required to provide an optimal surface for removal.
Ultimately, ensuring that all residual residue from adhesives and dirt is cleared away will lead to tremendous success when removing your old car decal!
Peeling The Decal
The next step in the decal removal process is peeling it away. This can be done with various instruments, such as a flat-head screwdriver or putty knife, depending on how securely the decal has been applied to the surface.
It is essential to keep in mind that one should always scrape gently when removing any adhesive residue from your car’s exterior surfaces.
In addition, if any stubborn parts are still left behind after an initial scraping attempt, warm water or heat may be necessary for total removal. Take extra care during this stage, as too much pressure could cause damage to the paint job or the decal itself!
Finally, once all pieces have been successfully peeled off, use a microfiber cloth to wipe down the area thoroughly, and you’ve successfully removed your unwanted car decal!
Remove Residue
Removing old car decals can be challenging, requiring patience and care. Following the proper steps is crucial to avoid leaving behind any residue or adhesive on the car’s surface, which could cause damage if not addressed properly.
The initial step is to heat the decal with a heat gun or hair dryer set at low-to-medium heat. This will help soften the adhesive, making it easier to remove without damaging the paint on your vehicle. After warming up the decal, carefully peel it away from one corner until it is entirely removed from your car.
To ensure all the adhesives have been successfully removed from the car’s surface, use an automotive cleaner specifically designed to break down adhesives and grease. The key is to work slowly, using a clean cloth or sponge to rub over affected areas gently – avoiding excessive scrubbing, which may scratch and damage paintwork. You can also try using petroleum jelly or WD40 spray lubricant to further loosen stubborn residues before wiping them away with a damp cloth.
Here are some essential tips for successful removal:
- Work slowly and methodically when removing decals; never rush!
- Use lukewarm water and soap before drying off with a soft towel or cloth.
- Be mindful when choosing tools – sharp objects should always be avoided as they may cause scratches and permanent damage.
- Utilize appropriate cleaning products such as automotive cleaners, petroleum jelly, or WD40 spray lubricants where needed throughout the process.
- Always test a small area first, particularly when trying new methods, to ensure no potential harm is caused during removal.
Ultimately, following these tips will help ensure the effective removal of decals without causing lasting damage. With proper preparation and execution of each step involved in this delicate process, your car will soon look new!
Repair And Polish The Car Surface
Having removed the residue from old decals, it is time to focus on repairing and polishing car surfaces. To begin with, a sandpaper technique can be used effectively to even out any unevenness caused by peeling off the decal. Remember that this will result in some paint being removed alongside the decal remnants, so care must be taken not to damage the surface excessively.
Additionally, chemical solutions are available, which can help break down glue left behind after removing a sticker or decal. These chemicals must be applied carefully and according to instructions provided by the manufacturer; however, they may offer better results than manual methods such as scraping or using detergent.
Finally, once all traces of the old decal have been thoroughly eliminated, it’s recommended to give the car a thorough polish to restore its original shine and luster.
Using quality products suitable for cars and applying them correctly should result in satisfying results – bringing your vehicle back closer to its former glory!
Things To Remember
- Essential tools include a heat gun, razor blade, plastic scraper, and soapy water.
- It’s essential to assess any damage caused by the decal before initiating the removal process to avoid further harm to the paintwork.
- Preparing the car for decal removal includes cleaning the surface and safeguarding the paintwork with protective products like waxes and polishes.
- Applying heat to the decal before peeling it away will help loosen the adhesive backing that secures the decal in place.
- The decal should be peeled slowly and carefully to avoid damaging the paint job or leaving adhesive residue behind.
- Removing residue can be done using automotive cleaners, petroleum jelly, or WD40 spray lubricants to break down adhesives and grease. Still, working slowly and avoiding excessive scrubbing that may cause scratches is crucial.
- Repairing and polishing the car surface involves using sandpaper to even out any unevenness caused by peeling off the decal, applying chemical solutions to break down glue, and giving the car a thorough polish to restore its original shine and luster.
Conclusion
The removal of old car decals can be a complex task. It is essential to ensure that all necessary tools are gathered before beginning and that the car is prepared correctly before attempting to remove the decal. Applying heat should help soften and loosen adhesive residue, allowing the decal to be peeled away easily. The steps outlined above provide an easy-to-follow guide for completing this task.
With these tips in mind, removing old car decals can prove straightforward and effective. Once removed, any residue remaining on the surface must also be addressed to restore the paintwork beneath it. Finally, polishing will assist in creating a smooth finish, ready for new detailing or further customization work.
Frequently Asked Questions
How do I prepare my car for decal removal?
A: Prepare your car by cleaning the surface, safeguarding the paintwork with protective products like waxes and polishes, and assessing any damage caused by the decal before initiating the removal process.
How do I remove residue left behind after removing old car decals?
A: You can remove residue using automotive cleaners, petroleum jelly, or WD40 spray lubricants to break down adhesives and grease. However, working slowly and avoiding excessive scrubbing that may cause scratches is crucial.
What’s the final step in removing old car decals?
A: The final step is repairing and polishing the car surface, which involves using sandpaper to even out any unevenness caused by peeling off the decal, applying chemical solutions to break down glue, and giving the car a thorough polish to restore its original shine and luster.
What’s the best tool for removing old vinyl car decals?
A: Essential tools include a heat gun, razor blade, plastic scraper, and soapy water. Among these, a heat gun is the best tool for the job.
Can I remove car decals without damaging the paint?
A: Yes, by applying heat, using a plastic scraper or card, and working slowly and carefully, you can safely remove car decals without damaging the paint.
What is the best adhesive remover product for removing car decals?
A: There are various adhesive remover products available at hardware stores, including glue residue removers, glass cleaners, and even brake dust cleaners, which can be used to remove car decals.
How do I prepare the surrounding area before removing car decals?
A: Before removing car decals, cleaning the area and removing dirt and debris using suds and water is essential, then applying a coat of wax around the decal to protect the surrounding car paint.
How do I remove leftover glue residue after removing car decals?
A: You can use a fingernail, plastic scraper, or adhesive remover product to remove leftover glue residue. Once the residue is removed, use a cloth to rub on some wax and air dry the area.
